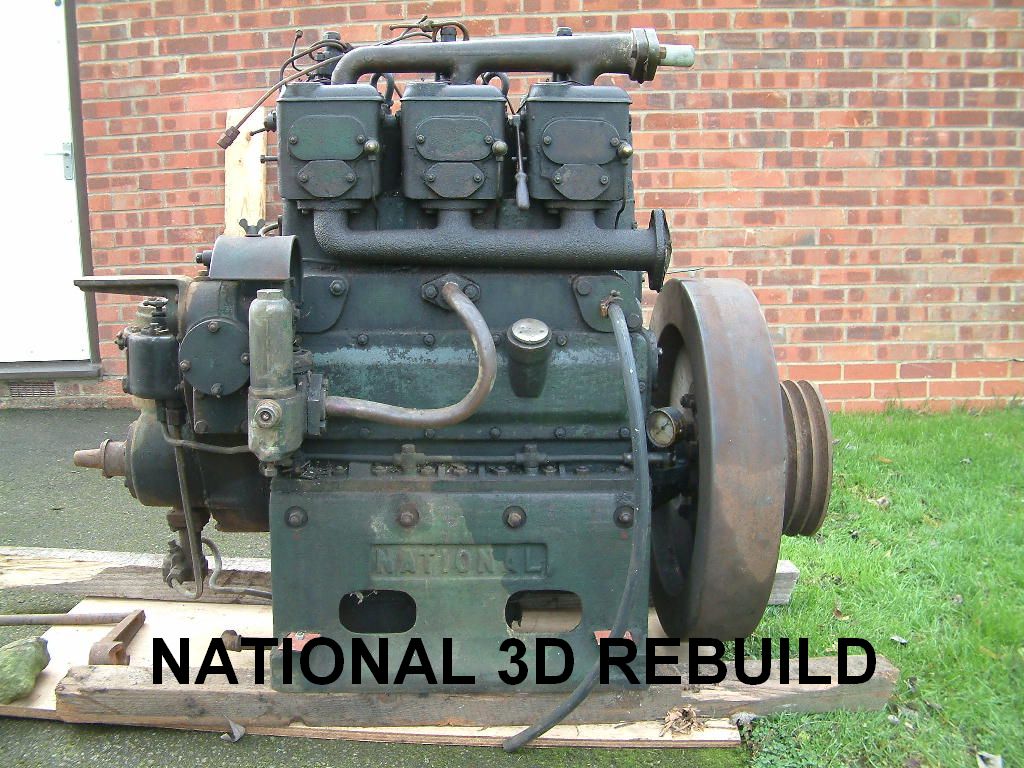
I sometimes sit and think - I must write something on the blog. But what to write? Even when I've 'pottered' in the garage, its not alway easy to see a tangible result.
Not so true this week as I've a little to report and some tangible results. The title sort of gives it away, I've made a start on the inside of the block (well, finished it really).
Below are a string of photographs going through the process from start to finish. When you look at the final result (a bit of half painted casting), its difficult to see why it took you 10's of man hours to do (but it did).
The first picture (previously published) shows the underside of the block after it was steam cleaned but with the liners still in place, along with the cam followers and liner bottom collars.
The next one is the same view (but 180 degrees round). All of the components have been removed and the casting degreased.

The next stage after de-greasing - attacking it with the wire brush(es). Most of this is done using a variety of rotary brushes to get in to all of those important little places.
 Isn't it shiny!
The final stage - painting! Now it's a case of making sure that all of those nooks and cranies get painted. The other side is making sure that you don't fill/get paint in to some of the holes (the cam follower and cylinder head oil drain holes in this case)
 The final result is a painted (internally) block.
What next? A fair guess would be more: cleaning, wire brushing, painting!

 The next stage after de-greasing - attacking it with the wire brush(es). Most of this is done using a variety of rotary brushes to get in to all of those important little places.


 All of the internals have been painted with Glyptal enamal. Aparantly it seals castings and aids with the smooth flow of oil. From my point of view, it will make long term maintenance easier with regard to oil changes as the sludge will be easier to wipe out. This will be aided by the newly finished sump:


